


Wink Review – Setup, Bringing the brains of your home automation to life – continued
With a touch of the hub option, I then selected Wink as the type of hub I was adding to my network. The Wink app, launched a setup wizard and started to walk me right through it.
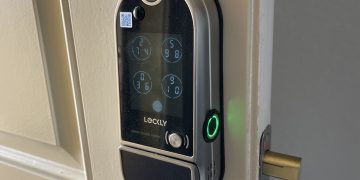
I clicked next to start. Then it was explained on the next screen that the hub should be at least 15 feet away from the router and the light on the front of the Wink Hub should be flashing purple. That it was, the small light at the top was flashing purple, waiting to be added to my network. The Led light on the front of the Wink is your prime source of status feedback. It changes color depending on its state. I continued on and clicked next and was nicely informed that for the best results, I needed to put my phone into airplane mode, then turn on wi-fi while in airplane mode.
[sam_pro id=”1_14″ codes=”true”]
Then I quickly switched to Settings, made the changes and returned to the app and hit Next. As you can see in the screen shots below, step 4 of 6 was to add Wink hub to the network. During this process it did come up that the Wink hub is not 5GHz compatible. That was a little bit of a bummer. You always want to support the latest and fastest. I can understand why. The 2.4GHz wireless channel does go farther and is supported by far more devices. I have noticed that most of my new hubs and devices all support it.
Either way, time to get it on the network. I clicked next, and the app describes what you should see happen with the hub as it connects. It was spot on, the light turned yellow, blinked a few times. then went blue. Then BAM! Your greeted with a Success! Screen. I included screen shots of the setup steps as well as the next step, where I named the Wink hub “Home”. You can see how “step by step:: the process is.