This page will walk you through many of the Lightify’s capabilities by covering setting up the GardenSpot RGB and the app’s capabilities
The Lightify GardenSpot RGB Packaging provides basic starting instructions. The App takes over, getting you up and running after you download it. That’s fairly typical of Wifi devices.
Download the app. I’m an iPhone user so a quick trip to the Apple App store, a quick search and a couple more taps and the app is downloaded. You “Android folks” likely get a similar experience from the Google Play app store.
Unbox your lights if you haven’t yet.
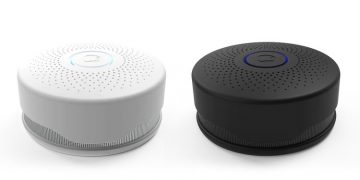
Launch the App. It will want you to point your phone’s camera at the QR code on the small Wifi controller, which they call the Gateway. (The process reminds me a lot of installing the Ecobee3 smart thermostat that is also reviewed.) Then Continue. It will soon ask you to complete registration, at which point you’ll receive an emailed activation code. You are almost there. That Gateway, though needs to meet your Wifi router. It first needs some AC power, as does the power brick and small transmitter that attach to the GardenSpot RGB lights.
At this point you’ll visit your smart device’s Wifi, and find the Gateway. The App will serve up a one time password to enter.
Now back on your App, you’ll select select your Wifi network for your home, and enter your normal Wifi password. You are almost done. Plug in the lights, and get ready to start adjusting colors, and brightness, saving some of them, and, creating schedules, and more.
[sam_pro id=”1_21″ codes=”true”]


